Table of Contents
Gutenberg allows you to just drag and drop files anywhere on the screen and it will automatically create a block for you. You can drop a single image or video file, and it will create the block for you. You can also drop multiple image files to create a gallery block.
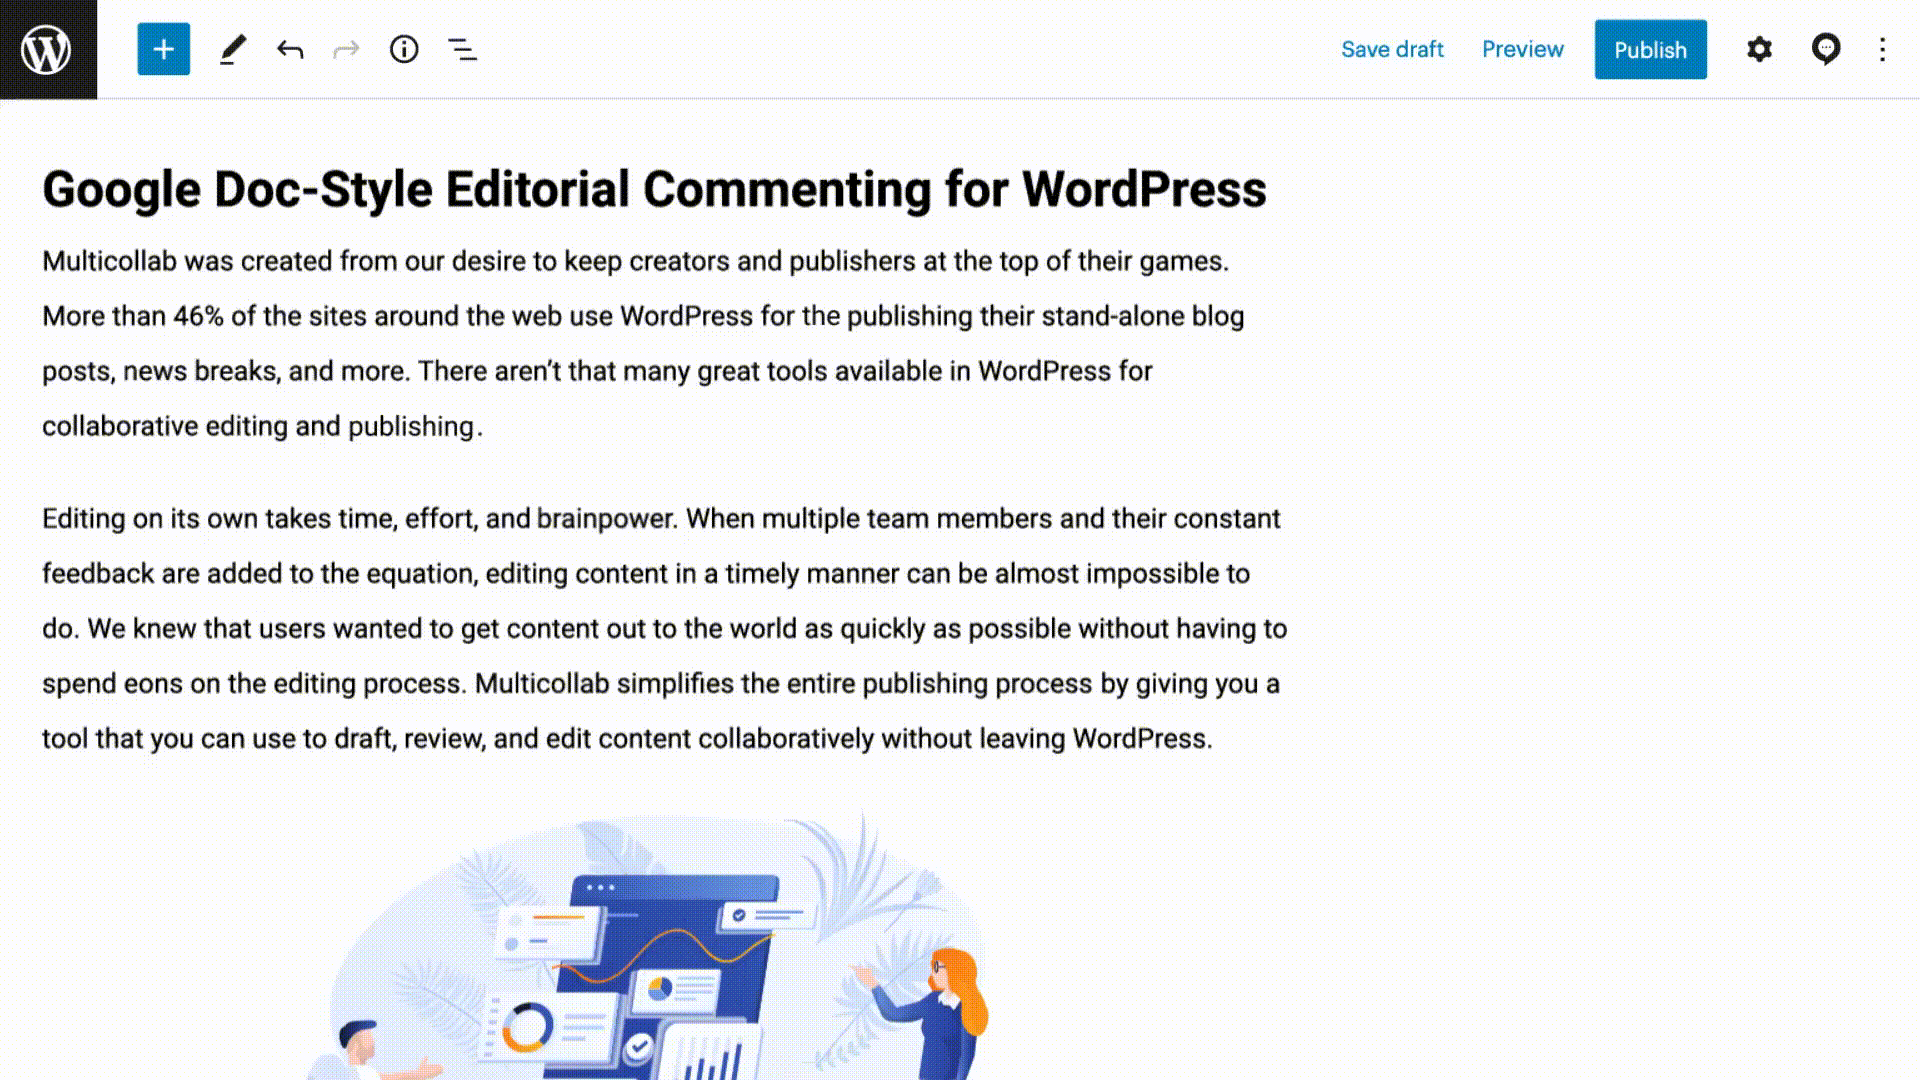
How do I write content in WordPress?
- Log in to your WordPress Administration Screen (Dashboard).
- Click the ‘Posts’ tab.
- Click the ‘Add New’ sub-tab.
- Start filling in the blanks: enter your post title in the upper field, and enter your post body content in the main post editing box below it.
How to Add a Block in Gutenberg?
The first block of every post or page is the title.
You can use the mouse to move below the title or press the tab key on your keyboard to move the cursor down and start writing.
If you don’t want to use a mouse to click on the button, then you can use a keyboard shortcut by typing / to search and add a block.
By default, the next block is a paragraph block. This allows users to start writing right away.
However, if you want to add something different, then you can click on the add new block button (+) on the top left corner of the editor, below an existing block, or on the right side of a block.
Clicking on the button will show the add block menu with a search bar on top and commonly used blocks below.
You can click on tabs to browse block categories or type in a keyword to quickly search for a block.
If you don’t want to use a mouse to click on the button, then you can use a keyboard shortcut by typing / to search and add a block.
Each block comes with its own toolbar which appears on top of the block. The buttons in the toolbar would change depending on the block you are editing
For example, in this screenshot, we are working on a paragraph block that shows basic formatting buttons like text alignment, bold, italic, insert the link, and more.
Apart from the toolbar, each block can also have its own block settings which would appear in the right column of your edit screen.
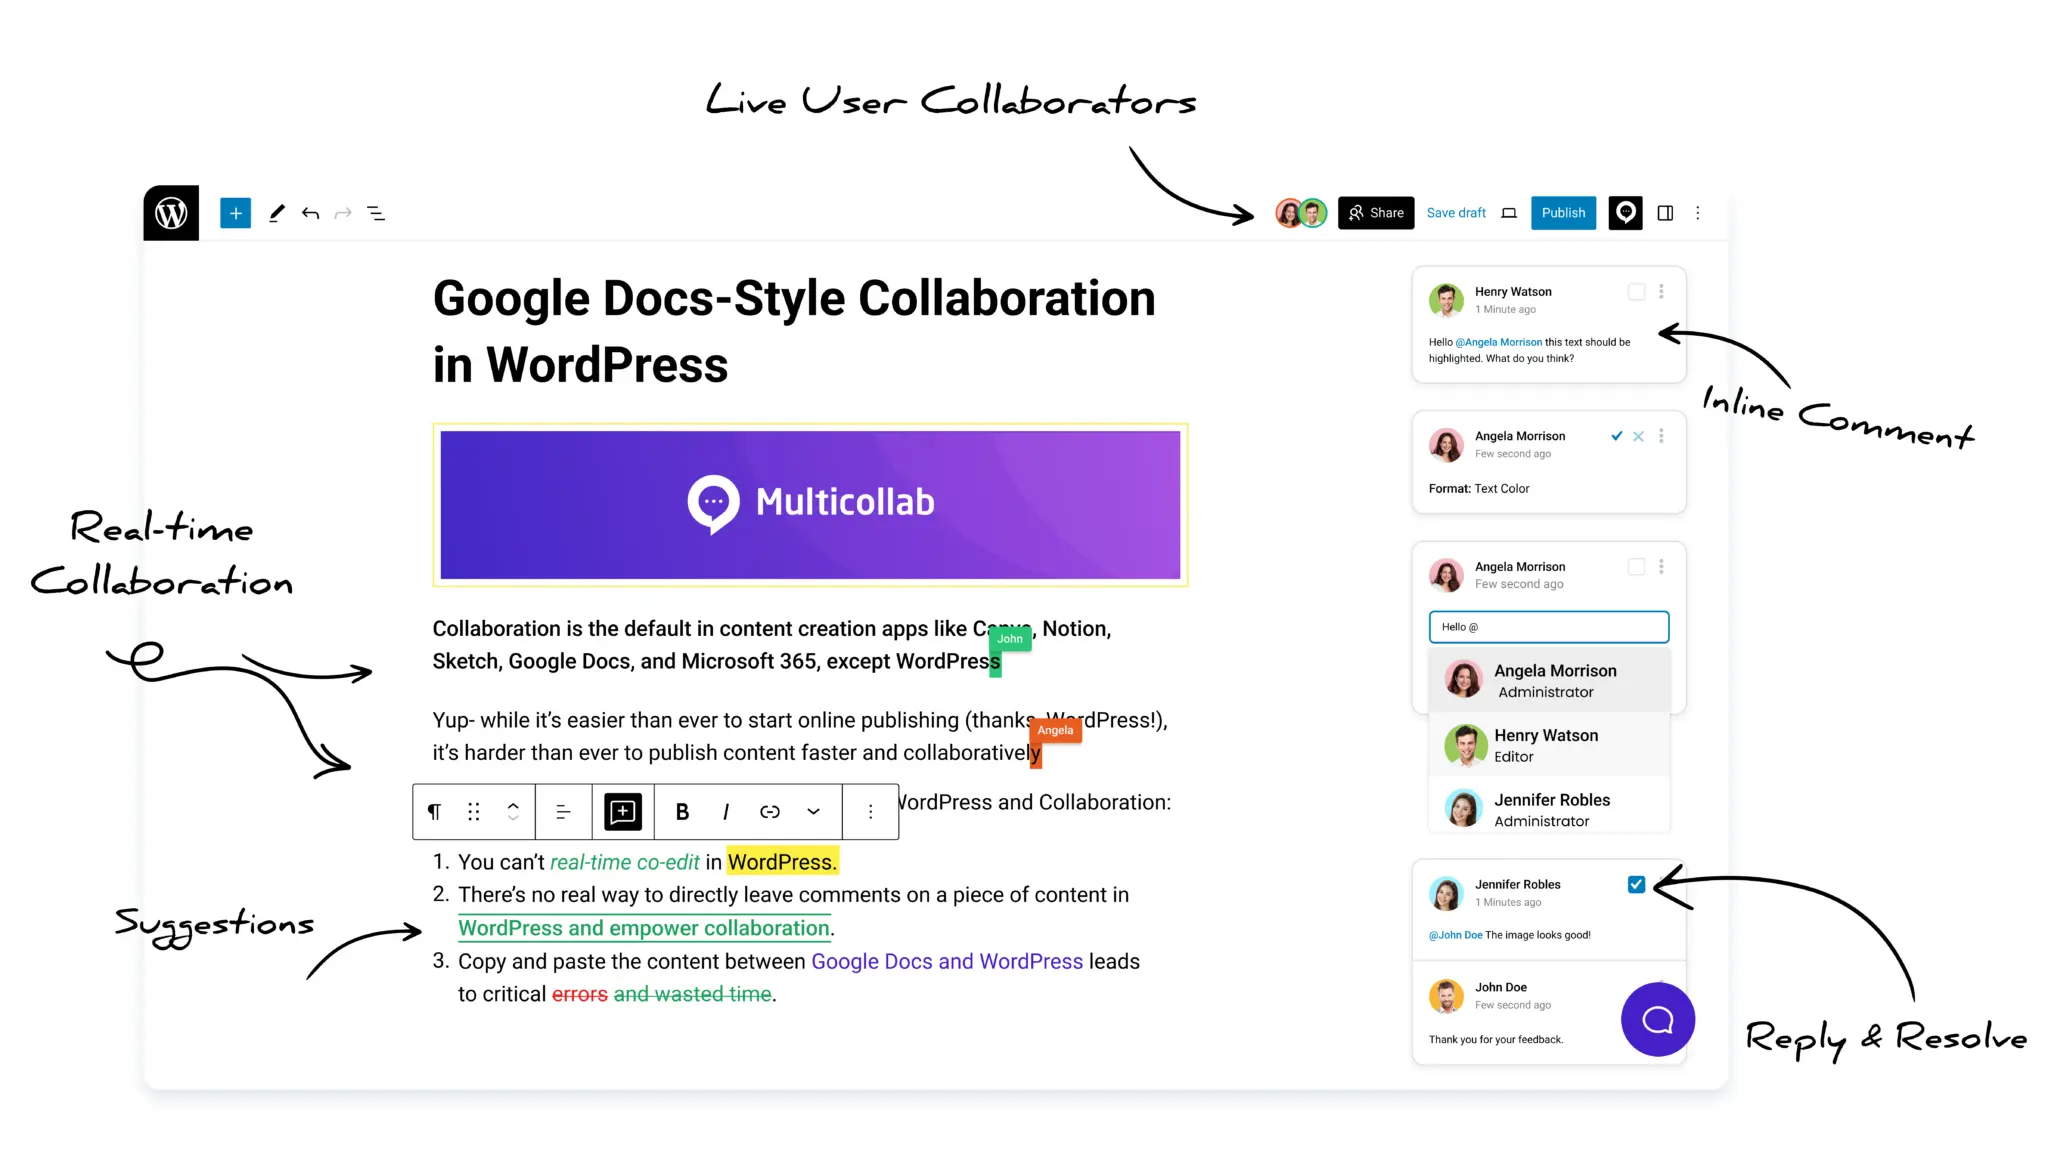
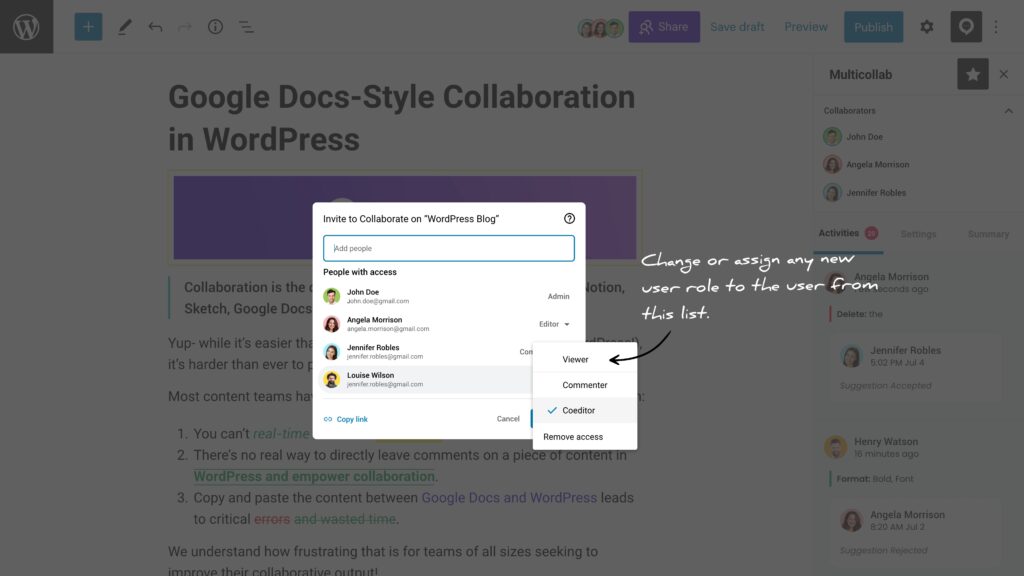
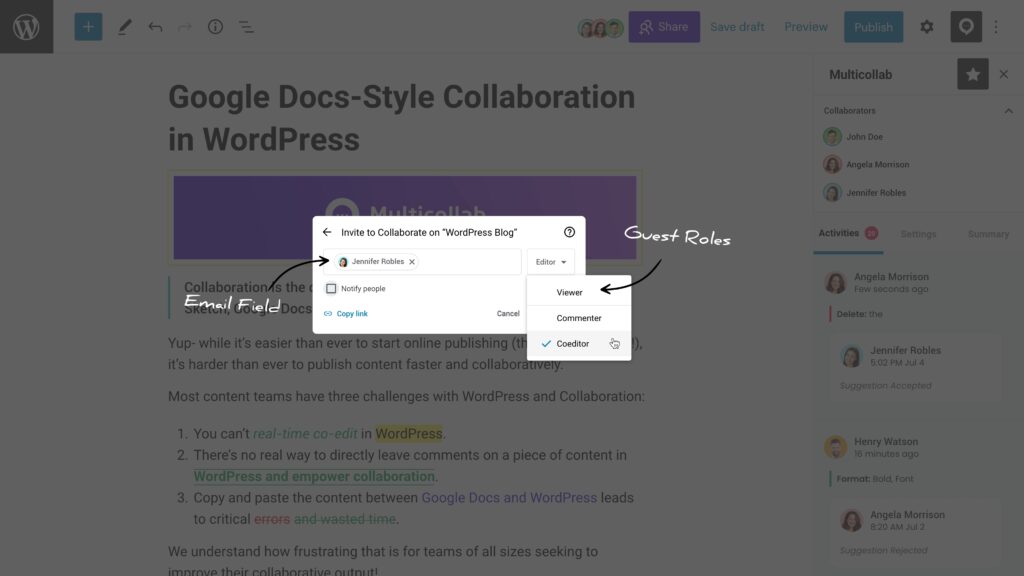
How to add/assign comments with the Multicollab Plugin?
In an editor on which you have editing or commenting rights, highlight or place your cursor next to the text and image with content to which you want to add a comment. Click either the comment icon in the toolbar.
Anyone with an editor or commenter access to the comment thread can create a comment.
There are several ways to add a comment, but the easiest way is to select the text that you want to comment on, then click the button that appears on the right side of the screen.
The comment box opens, and you can type your message.
If you want to make sure that a specific person sees your comment, you can tag them. To tag someone, type the @symbol and start typing their username. Then select them from your list of Users.
When you tag someone, you have the option to assign the comment to them. Assigning a comment to someone means that they will be responsible for marking it as complete.
When you’re finished typing your comment, click Comment.
How can I Reassign comments with the Multicollab?
You can reassign a task from an existing Comment thread by adding a new comment starting with the @name/email address of who you want to assign /reassign the item.
As you fill in the email address of the assignee, it will show you the check box “Reassign” the comment/task.
If you mention multiple people in the comment, the checkbox will be completed with a dropdown where you can select the person to whom you want to assign the thread, chosen from the ones you mention in the comment. A thread can only be assigned to one person at a time.
This works both in a new comment (to assign) or in a reaction on an already assigned thread (to reassign). You don’t need to be the assignee in order to reassign the thread, you just need to reply.
How to add self-notes in Gutenberg Editor with the Multicollab Plugin?
The First thing you need to add is the page/post title of your post. do this by clicking on the save draft button then it will automatically save you go.
Now you can write the content in the editor! You can treat this as a regular google doc. Just type and format away.
Additionally, your post/page is stored automatically. Easy!
While you draft the content OR anything if you want to add some notes and reminders then you can add notes using the comment feature.
Collaboration :
Now that you have created a page/post, it’s time to see where it is really helpful. Let’s set up a scenario that might be familiar to you. You are working on a document that requires feedback and input from others. So you put together a report in an editor and assign 2 different users, each assigned user can make notes and changes in the post and also get an email.
Also, you would need to “share” the comment thread with your co-workers and ask them to make their changes directly in the same post.
To do this, click on the “Share” button in the upper right corner.
With that, your co-worker will open the URL and it will redirect you to the same post link.
Team Collaboration with Multicollab :
Now users can simply click on the link to go to the post/page and edit it directly. So what does team collaboration in Multicollab mean?
Here’s the impressive part: They can change what they want and it will save automatically and everything is tracked in the activity center.
While people are editing the post/page you can see it in the list. Also, you will be able to see how many people are collaborating on the page/post.
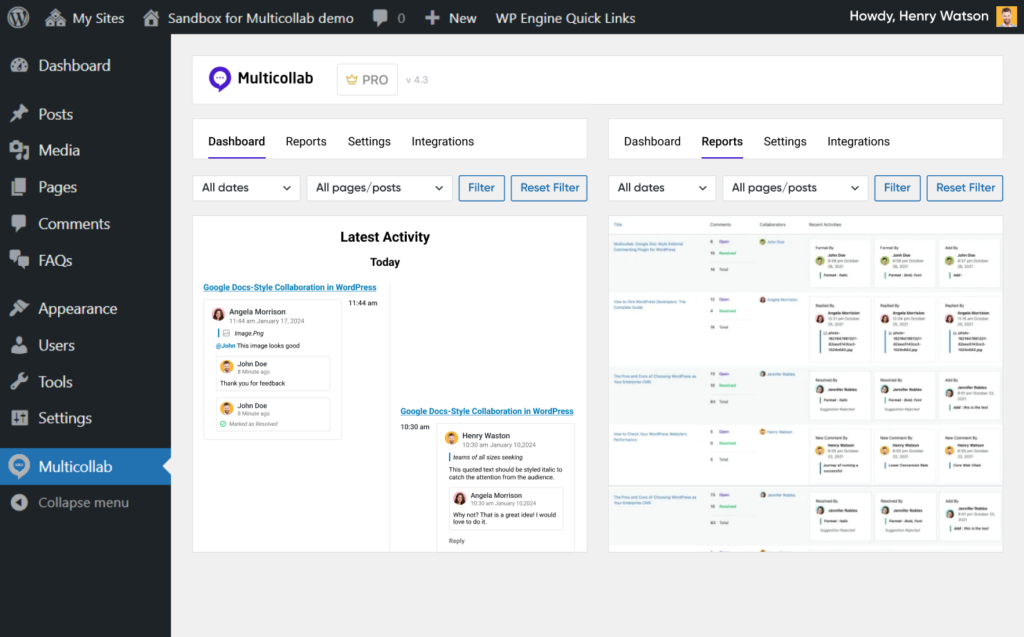
See the activity centre history:
If you want to see the entire comments of the page/post, go to the activity center and see the history.
Also, you can see the count of the comments and collaborating users inside the activity center.
Benefits of the Assign and reassign the comment :
- You can easily assign tasks in Editor and allow others with access to add to or edit a document according to your assignments.
- Send a comment to a specific person. To make your comment visible to someone, you can add them to the comment. They will receive an email notification with your comments.
- In thread discussion, you can create and manage group tasks and assign tasks to other members within the same thread. You can view tasks within the editor where they’ve been created. If a task is assigned to you, it appears in your task list within the editor.
Conclusion
When it comes to content creation, the journey never truly ends. It evolves, adapts, and continues; the wheels of content creation and review keep moving. So, in order to embrace continuous improvement in content performance, it is recommended to implement best practices and let efficient tools like Multicollab be your trusted companion. So, if you are a WordPress content team, elevate your content collaboration and review journey—get started with Multicollab and redefine how your team works together.
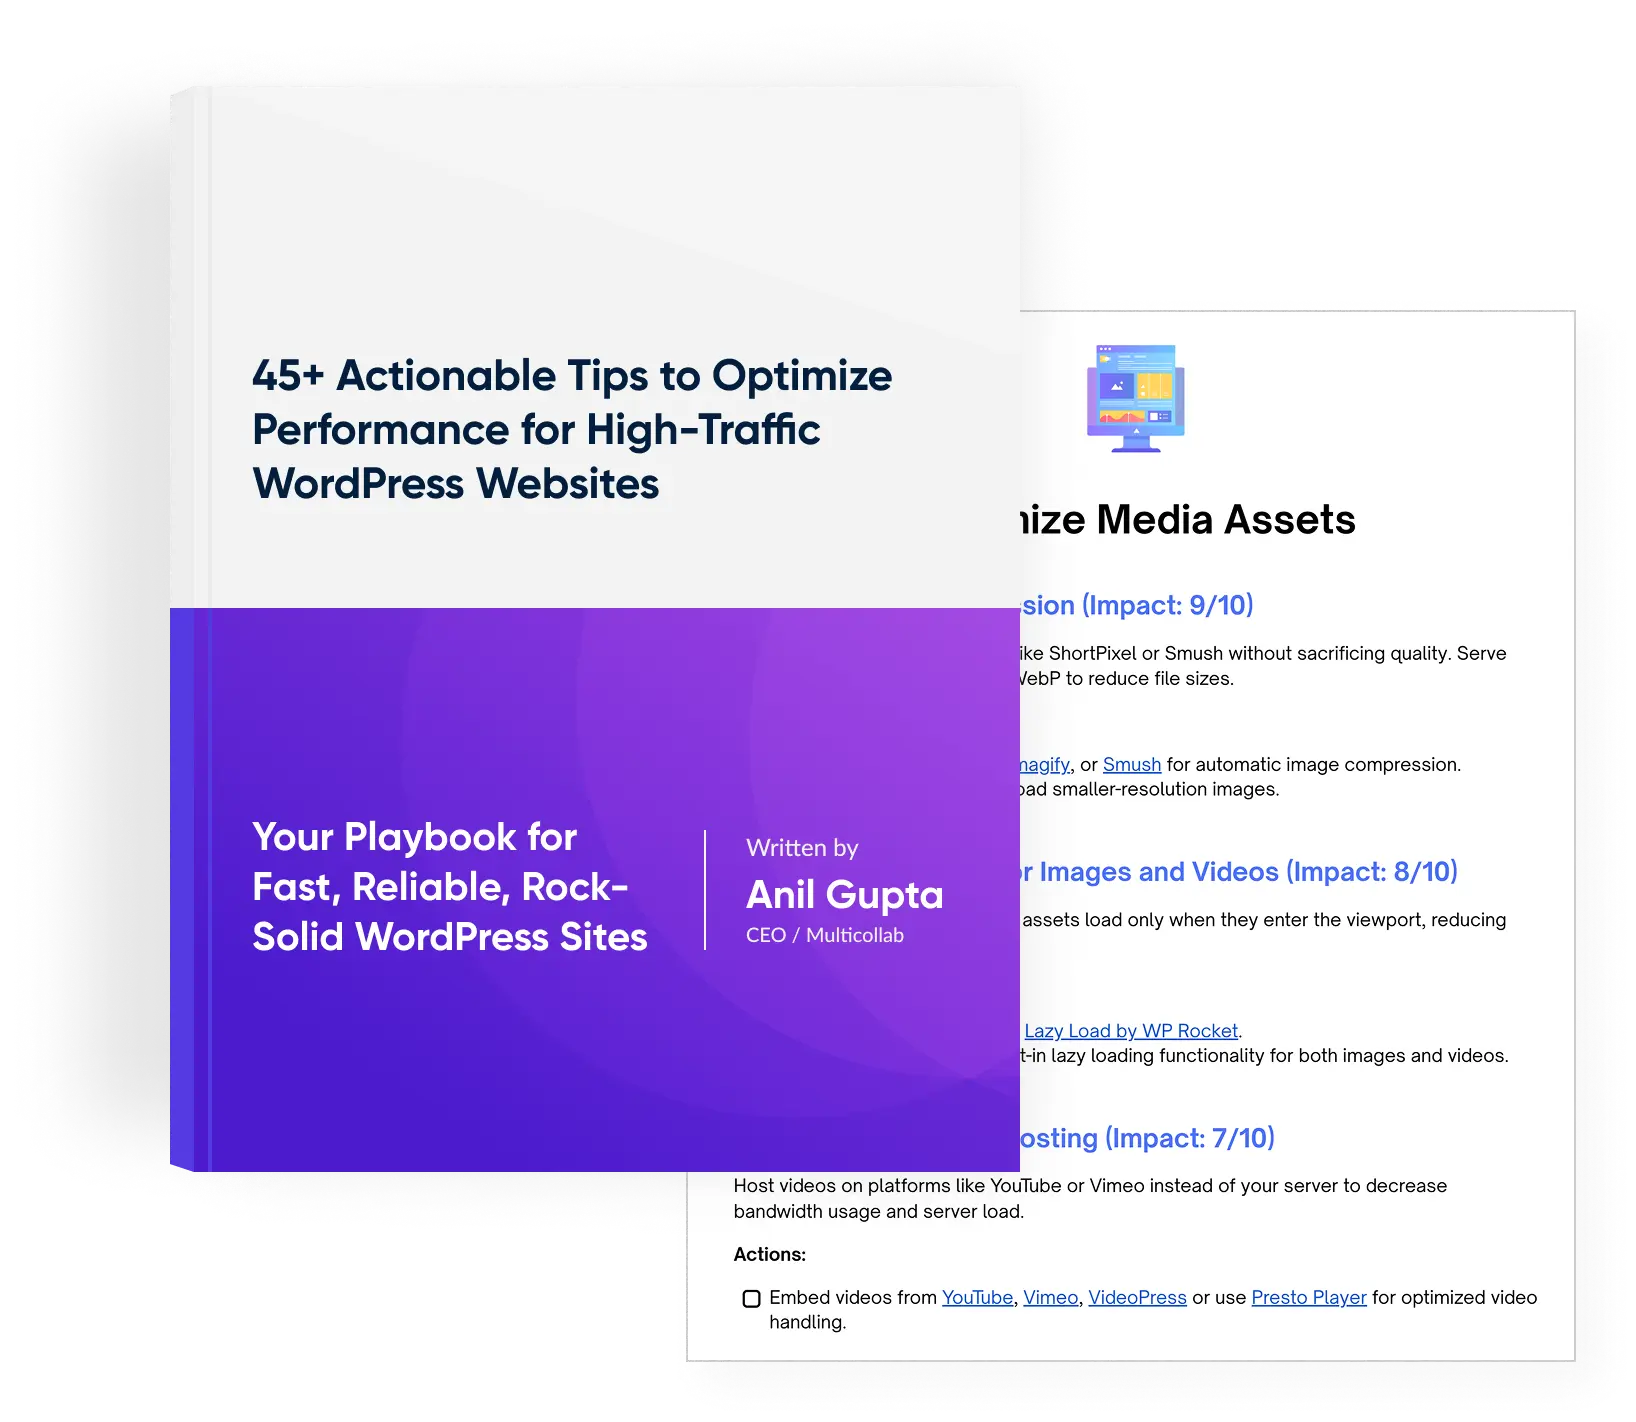
Download a Free Actionable Guide: 45+ Actionable Tips to Optimize Performance for High-Traffic WordPress Websites
Performance Optimization Techniques: Speed up your site with caching, image compression, and code minification.
Hosting and Scalability Suggestions: Learn to choose the right hosting solutions and scale efficiently.
Security and Protection Guidelines: Safeguard your site from DDoS attacks, malware, and performance threats.
Content and Plugin Management Tips: Optimize your database, plugins, and themes for peak performance.